Step 1 – Install & activate the plugin
Install & activate the plugin as you would any normal plugin. If in doubt – check out the the plugin installation article in the WordPress Codex.
Step 2 – Grab your MailChimp account details
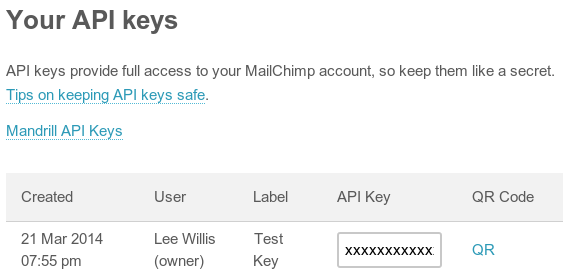
To set up the plugin, you’ll just need one thing – your API key. It can be found in your MailChimp account online under Account Settings » Extras » API Keys
Step 3 – Configure the plugin
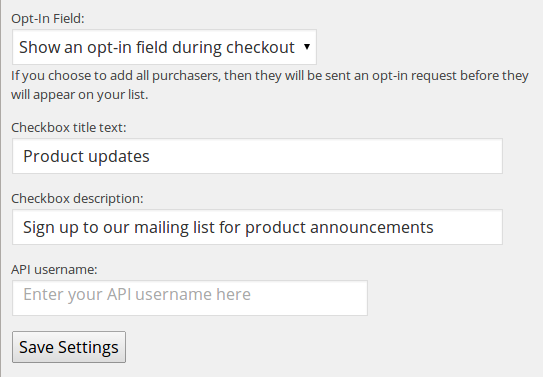 In your WordPress admin panel, head over to Downloads » MailChimp integration and you’ll see the plugin configuration screen. This will ask you a couple of things. Firstly choose whether you’re adding all purchasers, or providing an opt-in choice. The latter is always preferred unless you’re handling this choice elsewhere.
If you’re offering a choice then you also get to choose the checkbox title and description that will be shown.
Finally you’ll be asked to enter your API (From Step 2).
Enter your API key and save your settings. The plugin will validate your API key and also retrieve a list of your MailChimp lists. As the final step simply choose which list you would like your customers to be added to.
That’s it – you’re all set. Customers will be added to the list you’ve chosen when they opt in, and the transaction information will be sent through to MailChimp straight after purchase.