Activating the Premium Shipping plugin on your site is straightforward.
Step 1 – Install & activate the plugin
Install & activate the plugin as you would any normal plugin. If in doubt – check out the the plugin installation article in the WordPress Codex.
Step 2 – Set up your shipping options
Now that the plugin has been activated you can start setting up your shipping options. WP e-Commerce won’t start offering Premium Shipping quotes until we’ve enabled it within our store settings, so you can set up your rates in advance, and then enable thee module in WP e-Commerce to put your rates live.
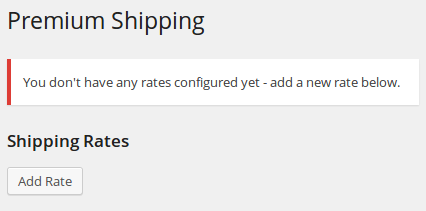 Right now though, we need to set up the rates we want. You can find the Premium Shipping settings under Settings » Premium Shipping. Out-of-the-box there won’t be any rates configured, so just go ahead and click Add rate to start setting up your pricing rules.
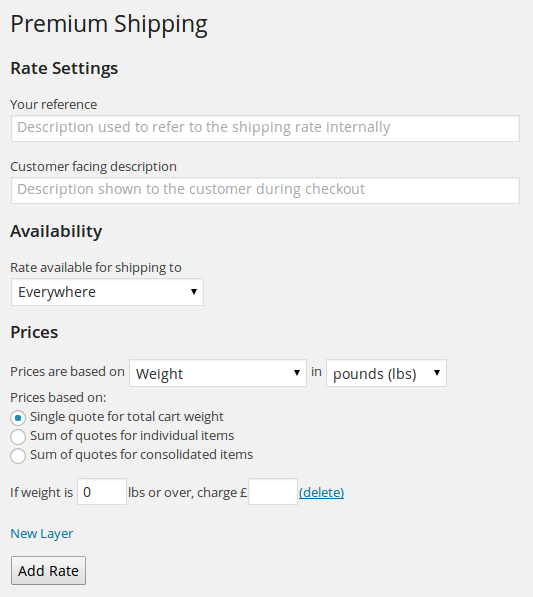
You can set up multiple different rates, for example if you offer different shipping options to your customers (Standard deliver, next-day delivery etc.), or if you want to have different pricing rules apply to customers depending on their shipping destination.
The “Add Rate” screen will let you choose which shipping destinations the rate is valid for, and how prices for this rate will be calculated.
Step 3 – Enable the plugin in your WP e-Commerce settings
Once you’ve set up your pricing rates, head over to Settings » Store » Shipping. The premium shipping plugin will be one of your listed shipping providers. Tick this and save your settings to put your rates live.