Step 1 – Install & activate the plugin
Install & activate the plugin as you would any normal plugin. If in doubt – check out the the plugin installation article in the WordPress Codex.
Step 2 – Grab your Campaign Monitor API details
To set up the plugin you’ll need two API keys from your campaign monitor account – your Account API key, and the list ID for the list that you want to add purchasers to.
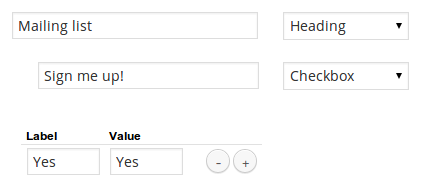
Step 3 – [Optionally] Add a confirmation checkbox to your store checkout
The plugin can be set up in two different ways, firstly if you already have your customers “opt-in” being managed in some other way, then you can choose to send every purchaser over to Campaign Monitor. Alternatively, you should add a checkbox to the checkout form to allow customers to opt in – set the “Value” for your checkbox to “Yes” for the opt-in choice:
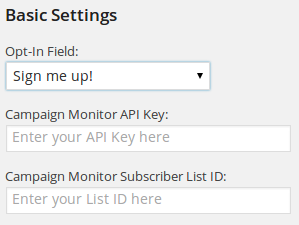
Step 4 – Configure the plugin
Head over to Settings » Store/CM Integration. Here you can select the checkout field that you just created – the customers response to this will be checked to decided if the customer should be sent or not. You can also enter your API key, and list ID.
That’s all you need to do to get up and running. Once you’ve filled in your API details, you’ll also be able to add custom fields to be sent with the subscriber details.